

Report Directories
The first time you run Student Manager Report Wizard, you are asked for the location of the Student Manager files and where Student Manager Report Wizard puts its files.

You can specify any directory for the Student Manager Report Wizard files, but we recommend a directory on a server; that way, you can share reports with other users.
For the location of the Student Manager files, either type the directory where Student Manager is installed or click the button beside the text box and locate the Student Manager directory in the dialog that appears.
After specifying the settings in Step 1, click the Next button.
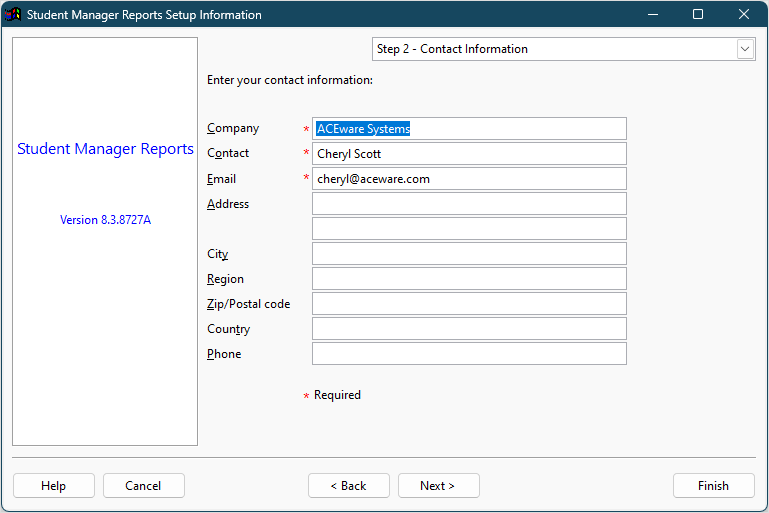
The options in the Contact Information page are used as contact information when you send an error report to us. The options are self-explanatory.
The options in Step 3 are used when you want to email a report to someone or if an unexpected error occurs in Student Manager Report Wizard, in which case you have an option of emailing an error report to us so we can resolve the problem.
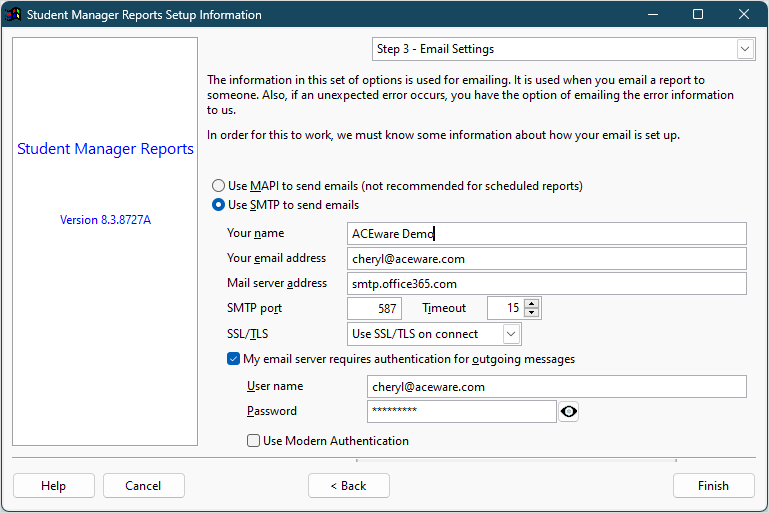
The options are:
Use MAPI to send emails: choose this option if you use a MAPI-based email client such as Microsoft Outlook. If you don't use Outlook and you're not sure if your email client uses MAPI or not, ask your system administrator. Note that Student Manager Reports requires the 32-bit version of Outlook and cannot send emails if you installed the 64-bit version. If that's the case, use SMTP instead. Also, MAPI isn't recommended if you want to email a scheduled report as it often fails. The other options on this page don't apply if you choose MAPI.
Use SMTP to send emails: choose this option if you use an SMTP-based email system or can configure your email system to use SMTP. Note that if you use Microsoft Exchange, it must be configured by your administrator to work with SMTP. This is the preferred option for emailing because it's more reliable.
Your name: your email descriptive name.
Your email address: the email address to use as the "reply to" address.
Mail server address: the address for your SMTP mail server. If this isn't filled in by default, check your email client to see how it's set up. For Gmail, use "smtp.gmail.com:587".
SMTP port: the port for your SMTP mail server. This defaults to 25, but can be changed if necessary. As with Mail server address, check your email program's account settings and use the same port number here. For Gmail, use 465.
Use SSL/TLS: turn this setting on if your email server uses SSL/TLS. Turn this on for Gmail.
My email server requires authentication for outgoing messages: turn this option on if applicable. To determine if you should turn this on or not, check your email client setup.
User name: the user name to use if the My email server requires authentication for outgoing messages option is turned on.
Password: the password to use if the My email server requires authentication for outgoing messages option is turned on.
Test: once the email options are set, click this button to send a test message to yourself. This allows you to ensure the email settings are correct.
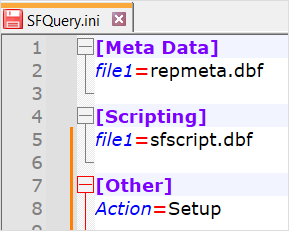
After you've closed this dialog, it doesn't normally come up again. If you need to change any settings, see the Configuring Student Manager Reports help topic. If you want to force the dialog to appear again, add an Other section to SFQuery.ini and create an Action entry under that section with a value of Setup. For example:
Folders
There are several folders related to Student Manager Report Wizard:
Program folder: the folder the Student Manager Reports program files are installed in. By default, this folder is under C:\Program Files on your system, but you may have chosen to install it in a different location or on a network server. This folder is probably read-only due to Windows security. As a result, some files Student Manager Reports needs to write to are stored in other folders.
Data: the Data subdirectory of the program folder contains "system data" files Student Manager Reports needs, such as the license file, the users files, the error log file if errors occur, diagnostic files, and so forth. All users have read-write permission to this folder since Student Manager Reports must be able to write to these files. If you want to change the location of this folder (that is, you don't want to use the Data subdirectory of the program folder), see the Changing the Location for Reports topic.
Reports folder: the first time you run Student Manager Reports, the Setup dialog asks you to specify the folder where reports should go. You can either specify a folder on your system or one on a network server, but in either case, it must be a folder to which you have read-write permission. This means you likely cannot select the program folder since, as mentioned earlier, this folder is often read-only. The location you specify is stored in Data.INI in the Data folder; you can edit this file to change the location if necessary.
Sample Templates: this subdirectory of the program folder contains the report templates Student Manager Reports comes with. These are automatically imported the first time the application is started but are available in case you delete some templates and later wish to re-import them.
Windows System: Student Manager Reports installs several DLL and OCX files (special system files) it needs in the Windows System folder (C:\Windows\System32 in 32-bit systems and C:\Windows\SysWOW64 in 64-bit systems). These files are only installed if they don't already exist, but are installed on your system even if you installed Student Manager Reports on a network server.
C:\Program Files\Common Files\Microsoft Shared\VFP: this folder contains additional DLL files Student Manager Reports requires. These are installed on your system even if you installed Student Manager Reports on a network server.