

Managing Databases
How to add and work with databases.
Creating an ODBC Data Source
To create a new ODBC data source, use the Windows ODBC Data Source Administrator dialog. You can bring up this dialog in one of three ways:
Click the ODBC Admin button in the Setup or Manage Databases dialogs.
If you use a 64-bit computer, you have to use the 32-bit ODBC Administrator rather than the default 64-bit one. To do that, open Window Explorer, navigate to C:\Windows\SysWoW64, find ODBCAD32.exe, and double-click it.
If you use a 32-bit computer, click the Start button in your Windows Taskbar and choose Control Panel. Double-click "Administrative Tools" within the Control Panel and then double-click "Data Sources (ODBC)."
The ODBC Data Source Administrator dialog appears similar to the following.
To create a new data source, do the following steps:
Step 1. In either the User DSN or System DSN pages, click the Add button. The Create New Data Source dialog appears, looking something like the following. Select the appropriate driver, and click the Finish button.
What happens next depends on the driver you selected. The rest of these steps assume you are using the SQL Server driver. Please see your system administrator for assistance with other drivers.
Step 2. The setup dialog appears. Type something descriptive for the Name (such as "My Database") and Description, then choose the server from the drop-down list.
Step 3. Click the Next button to go to the next page of the dialog. Check with your system administrator to see what settings to use in this page; you can leave the choices set at their default values if you aren't sure what settings to use.
Step 4. Click the Next button to go to the next page of the dialog. In the Change the default database to setting, select the database you want to query on from the list (you may have to ask your system administrator for the name of the database). You can leave the rest of the settings at their default values.
Step 5. Click the Next button to go to the next page of the dialog. Check with your system administrator to see what settings to use in this page; you can leave the choices set at their default values if you aren't sure what settings to use.
Step 6. Click the Finish button to finish the setup. You then see a dialog that looks something like the following. Click the Test Data Source button to ensure everything works, then click the OK button.
Select a Database
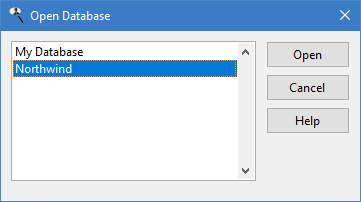
f you have more than one database available, you can select which database you want to report on when you log in; the default is the one you chose the last time you used Student Manager Reports. At any time, you can switch to a different database by selecting to display the Open Database dialog. Select the desired database and choose OK.
The name of the currently selected database is shown in the status bar at the bottom of the Reports Explorer, as well as on the System Information page of the About Student Manager Reports dialog.
Report on Multiple Databases in the Same Report
Student Manager Reports allows you to report on data from more than one database in the same report.
To do that, click the Databases button in the Filter page of the Reports Explorer or the report wizard to display a list of databases to include in this report.
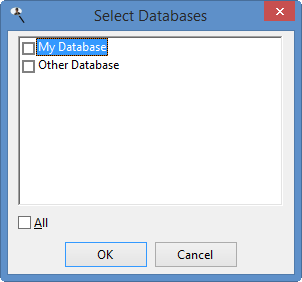
If none are selected, the report includes data from the currently selected database only. Turn on the "All" option to automatically select all databases or turn it off to deselect all databases.
Note that every table has a "Source Database" field that contains the name of the database each record came from. Include this field in your report if you want to see which database contained each record.
You must have an Ultimate license or the Databases button does not appear.