

HTML Editor
Several areas of Student Manager use the HTML Editor to apply HTML formatting to a text field: Catalog Descriptions, Course Notes, Email Templates, and Faculty Bios.
Note
The HTML Editor is a basic HTML creator. It cannot be used for advanced HTML formatting such as floating images, adding tables, or creating multi-level lists.
Using the HTML Editor
- Open the HTML Editor from one of the areas below.
- In the HTML Editor window, highlight the text you want to format then click the appropriate button (e.g. click the B button to bold the text).
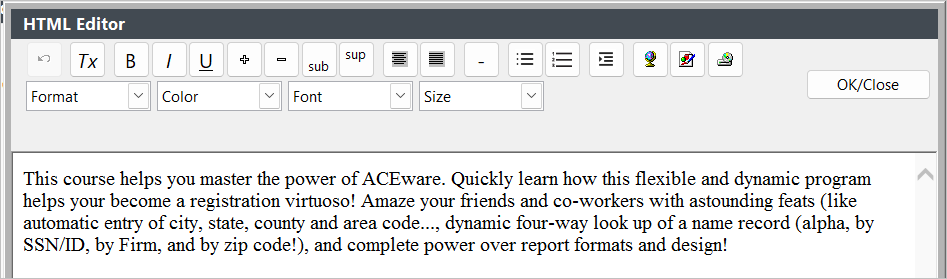
- In the Catalog Builder and Faculty Manager, you can also:
- Add an image: put the cursor where you want the image, then click the Image icon. The image must reside in your ACEweb Images folder (e.g.
wconnect\ace\images) and you must enter the URL of the image. - Add a hyperlink: highlight the text, click the Hyperlink icon, and enter the URL.
- Embed a video: put the cursor where you want the video, click the Video icon, and enter the embed code.
- Add an image: put the cursor where you want the image, then click the Image icon. The image must reside in your ACEweb Images folder (e.g.
- Click the OK/Close button.
- You'll be asked to place the generated HTML code into the field. Click Yes.
- Click Save (or Save Changes) to save the record.
Catalog Descriptions
Applies to the Catalog Builder's Secondary Description field, for display on ACEweb's course information page.
- Find the Catalog record.
- Click the HTML Editor button.
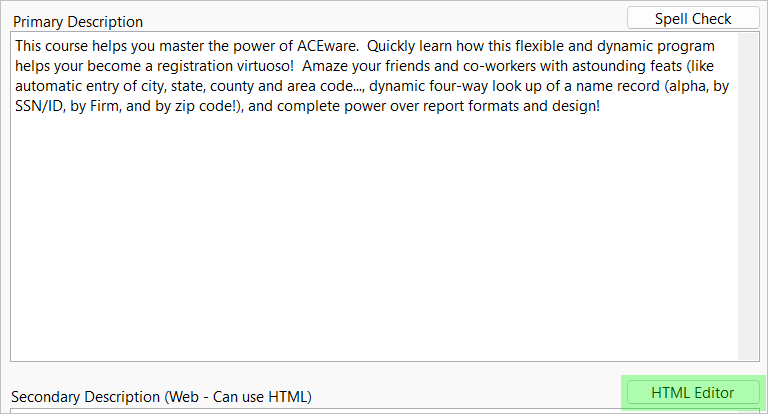
If you have a Primary Description entered but no Secondary Description, the Editor copies the Primary Description text in for you. Follow the steps in Using the HTML Editor above, then:
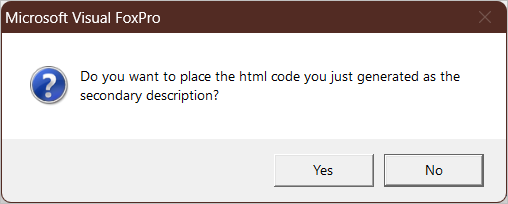
Your HTML formatted description is now entered into the Secondary Description field. Click Save to save the changes to the Catalog record.
Course Notes
Applies to the course Note (May be printed on receipt) field.
- Open the course record and select the Comments tab.
- Click the HTML Editor button above the Note (May be printed on receipt) field.
Follow the steps in Using the HTML Editor above, then click Save Changes to save the course record.
Using HTML in Course Notes
The HTML will also show in printed reports (such as receipts or course details). You can use the StripHTML function on reports to strip out the HTML and leave only the text of your note.
Email Templates
Applies to the Email Header, Body, and Footer fields (and to the Message body when sending a quick email).
IMPORTANT NOTICES
- The HTML Editor will not be available on Email Bodies using the Legacy Template Coding (the button will be disabled). The option is only available for Email Bodies using the new style Template Coding.
- You must apply HTML formatting to all 3 Email sections, i.e. the Header, Body, and Footer.
- Open an email template.
- Click the appropriate HTML Editor button. For example, to apply HTML formatting to the Email Header, click the HTML Editor button to the right of the Email Header label:

Follow the steps in Using the HTML Editor above, then click Save. Depending on the section you formatted:
- Email Header: the Editor adds opening HTML tags at the beginning (e.g.
<html><head></head><body>).

- Email Footer: the Editor adds closing HTML tags at the end.

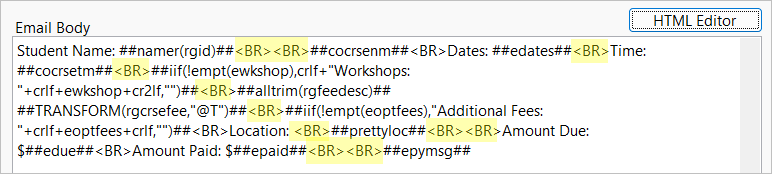
- Email Body: the Editor replaces each line break with a
<BR>tag.
Faculty Bios
Applies to the Faculty Manager's Instructor Bio field, for display on ACEweb.
- Open the Faculty record.
- Select the Comments tab.
- Click the HTML Editor button just above the HTML field.
If you have a Bio entered but no HTML one, the Editor copies the Bio text in for you. Follow the steps in Using the HTML Editor above. Your HTML formatted description is then entered into the HTML field.