Microsoft SQL Server (MSSQL) Setup
This guide covers moving your Student Manager data to the Microsoft SQL Server (MSSQL) version, including setting up the DSN, porting your Student Manager data and ACEweb logs to SQL Server, installing or upgrading ACEweb, the template changes MSSQL requires, and common setup issues.
Requirements for Moving to SQL Server
- SQL Server 2019 or newer.
- A DSN must be set up on all machines (server and workstations) under the same name (the name is requested during porting).
- Microsoft SQL Server Management Studio must be installed on at least one machine (preferably the server).
- New database: the SQL scripts are meant to be run on a new database. If you have previously created the SQL database (e.g. an
acewaresmone) and ported data to it, delete the database before you complete the Porting Student Manager Data and Porting ACEweb Logs instructions — or delete all the tables and stored procedures in the existing database. - A domain account must be created that has full permissions to the Student Manager folder,
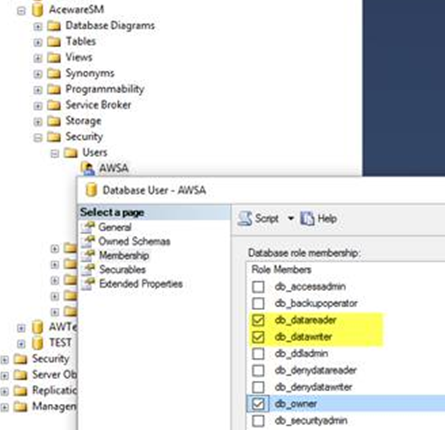
db_ownerrights to the SQL database, and all relevant permissions on the ACEweb server.
Setting up DSN
The DSN must be set up on the server and all workstations that will access Student Manager.
- On 32-bit machines, find Data Sources (ODBC) in Administrative Tools (usually in Control Panel). On 64-bit machines, open
C:\Windows\SysWow64\odbcad32.exe. - Go to the System DSN tab.
- Click Add.
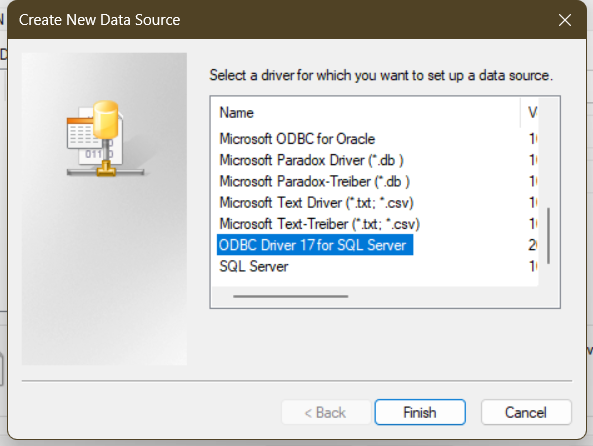
- Choose ODBC Driver 17 for SQL Server and click Finish. Do NOT use another SQL driver — they are not compatible with the Student Manager data.
If you don't see the ODBC Driver 17 for SQL Server option, you can download the driver from the Microsoft site ↗️, and install it before completing these steps.
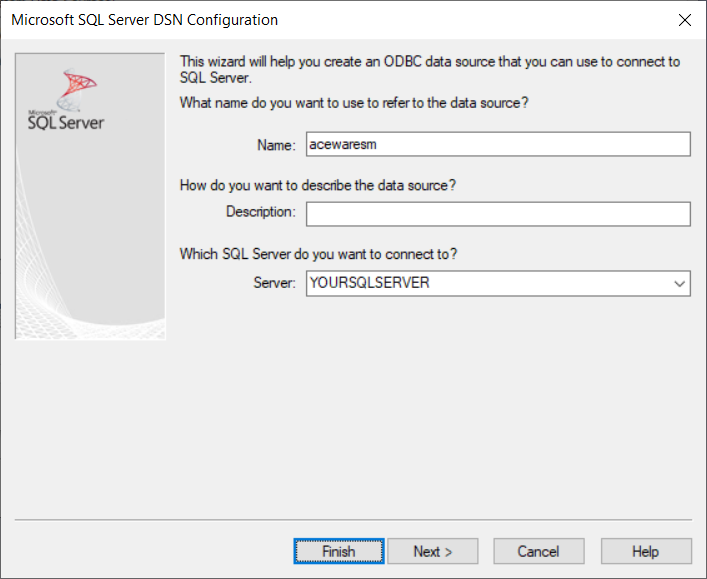
- Give the DSN a name (
acewaresmis recommended) that will be used by all users. Select the SQL Server you want to connect to, then click Next.
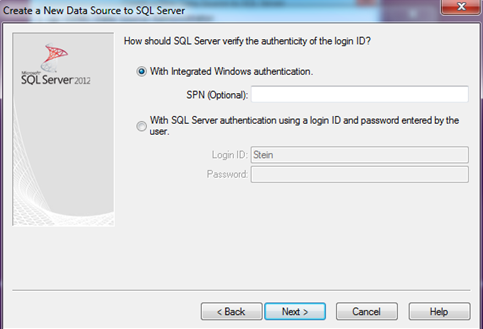
- Choose the With Integrated Windows authentication method and click Next.
- Check the box to Change the default database and enter the SQL database name. Again, we recommend
acewaresm. Note that this has nothing to do with the DSN name; it is simply simpler to use the same name in both cases. Leave the other settings and click Next.
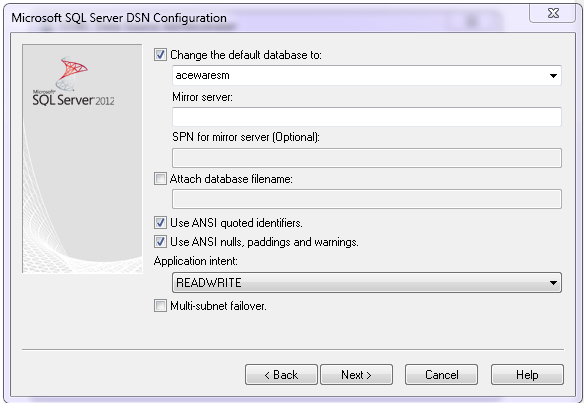
- On the last screen, click Finish.
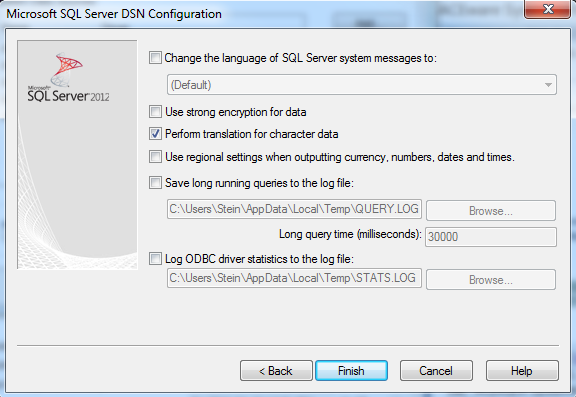
- You should then get a confirmation dialog:
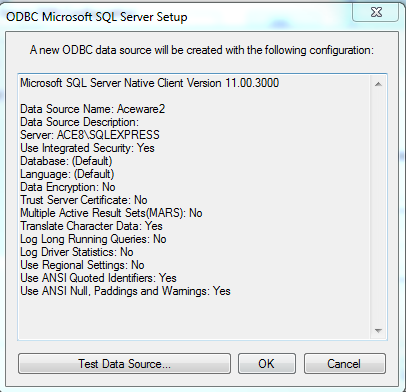
- Click OK to create the DSN and exit.
Test the SQL Connection
If you want to test it first, you need to temporarily disable the default database (since it doesn't exist yet and will cause the test to fail). Click Cancel, go back one screen, and clear the check box:

Then click Next, Finish, Test Data Source. You should see TESTS COMPLETED SUCCESSFULLY.
If the test fails, recheck your settings, consulting with your technician if necessary.
And don't forget to re-enable the default database before exiting.
Porting Student Manager Data to SQL Server
Porting Data Files
You will need to obtain a copy of the upsizingwizard.zip from your ACEware technician before completing these steps. Files in the zip should be places in your Student Manager directory (e.g. c:\manager8\ folder)
We recommend you back up your data to an external location, though this is not absolutely necessary as the routine will create a local backup as it goes.
- Get everyone out of Student Manager.
- Run the
vfptosql.exeprogram. - The wizard should come up with
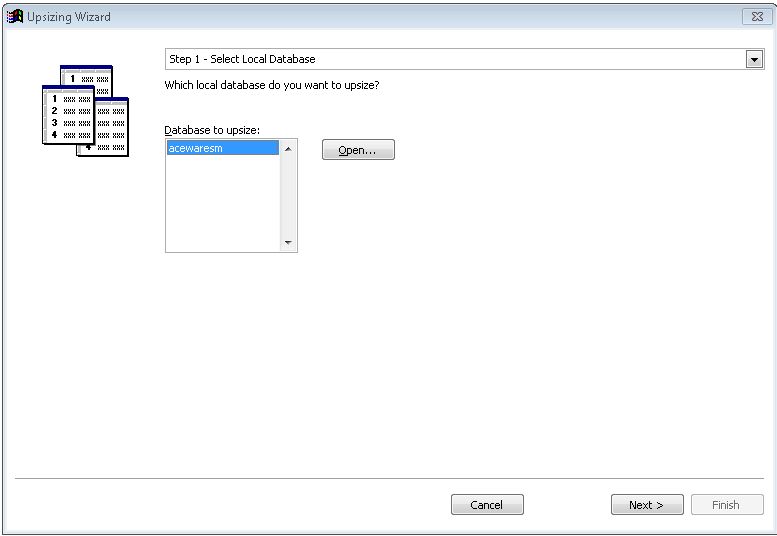
acewaresmspecified by default as the Database to Upsize. If it does not, click Open, navigate to the UPSIZED folder, and selectacewaresm.dbc:
- Click Next.
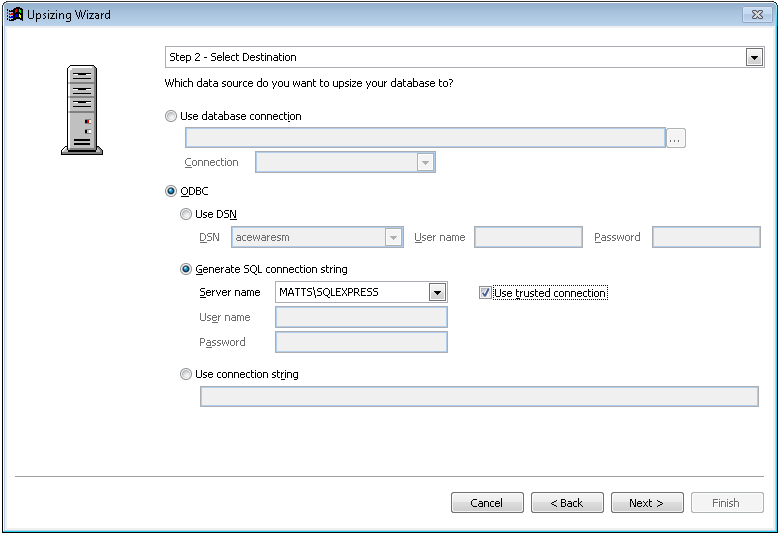
- Choose ODBC and choose Generate SQL connection string. Then select the Server name and check Use trusted connection:
- Click Next.
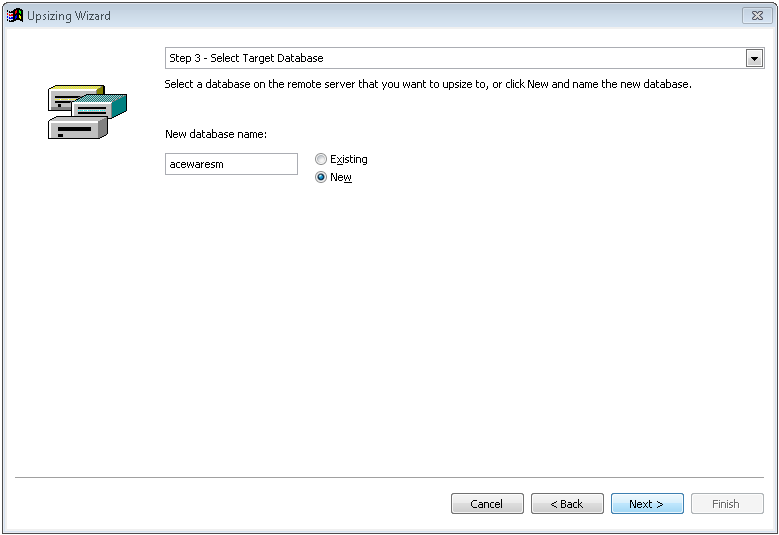
- Select a new database and give it the name
acewaresm(or the name you used when setting up the DSN):
Click Next.
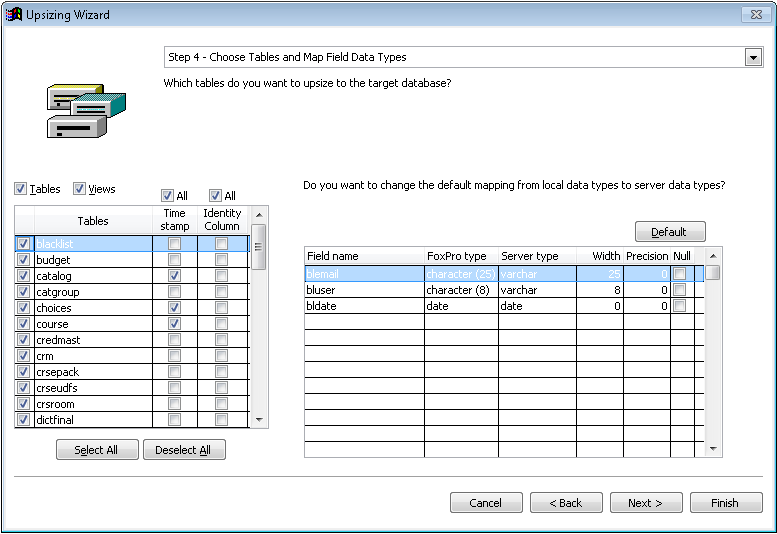
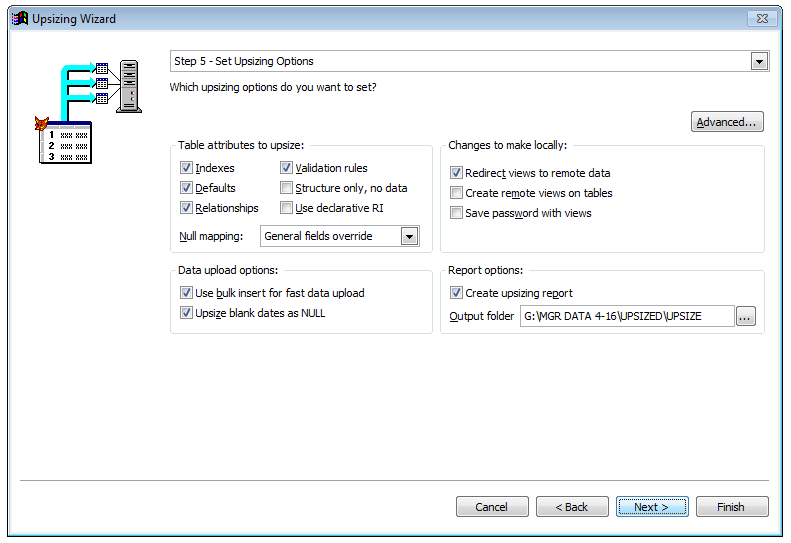
You should not need to change anything on steps 4 and 5 of the Upsizing Wizard. Just click Next on both steps.
- Click the Finish button.
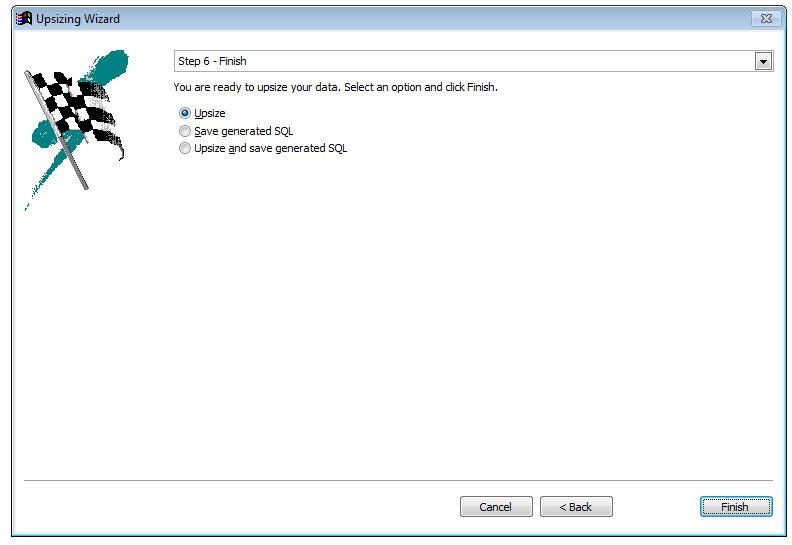
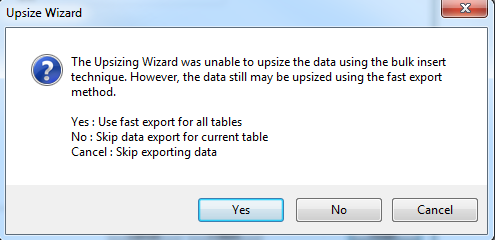
- If you get a message that the Upsizing Wizard was unable to upsize data using the bulk insert technique, click Yes so it uses the fast export method instead.
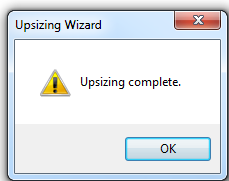
- The application will notify you when the upsizing is complete. Click OK to close the notification.
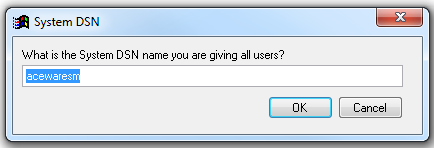
- Specify the name of your DSN when prompted.
Porting ACEweb Logs to SQL Server
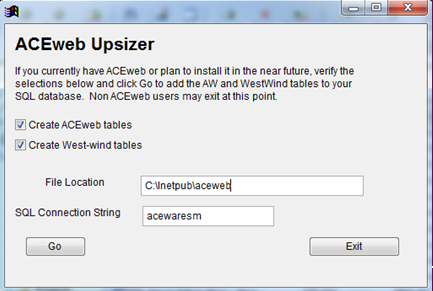
ACEweb users should continue on with the ACEweb Upsizer.
The File Location is optional. If you do not use ACEweb, or do not plan to use ACEweb, just click Exit. Otherwise, click the Go button to add the necessary ACEweb tables.
Installing ACEweb SQL Version on a New Server
If you are installing on a new server, obtain the SQL install file from your ACEware technician and install ACEweb.
Upgrading Current ACEweb Install to SQL Version
If you are upgrading a current ACEweb install, upgrade, obtain the SQL version update file and follow the steps to upgrade to it before continuing these steps.
Registering the aw4.exe
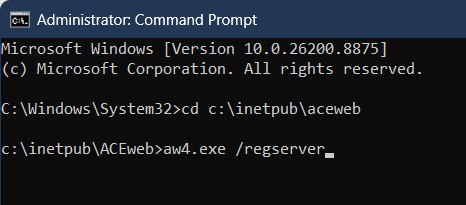
After applying the SQL version upgrade, you must register the new aw4.exe. Open a command prompt window, navigate to the inetpub\aceweb folder, then register aw4.exe, e.g.:
DCOM Configuration
You may need to edit the properties of the new aw4.acewebserver. See the DCOM Settings section of the ACEweb Mode Setup topic for more information.
Web.config and ACEweb.ini Changes
Edit the
web.configin theinetpub\wwwroot\wconnectfolder and make the following changes:- Change the
ComServerProgIdsetting toaw4.AceWebServer. - Change the
ExeFilesetting to point toaw4.exe. - Change the
UpdateFilesetting to point toaw4.exe.

- Change the
Make the following changes in the ACEweb.ini (in inetpub\aceweb):
- Enter the ODBC Data Source Name in the
Sqlconnectstringin the[Main]and[AceCode]sections. This is the name entered in step 5 of the Setting up DSN section. For example: `Sqlconnectstring=acewaresm'. - Set the
DebugFlagsetting toTABLE:(if it's not already set). - If you have not already enabled admin error emails: turn on the
AdminSendErrorEMailINI setting, enter the email server inAdminMailServer, and an email inAdminEmail. - Update
Datapath, andPccPathif necessary, to the Student Manager directory. This is only necessary if you have moved your Student manager folder.
- Enter the ODBC Data Source Name in the
Set Application Pool Identity
You must set the Application Pool to a user that has rights to access the SQL database.
WARNING
You cannot run the SQL version under the SYSTEM account. It must run under a specific domain account. See the permissions topic for more information.
Load the COM Server
- Go to the
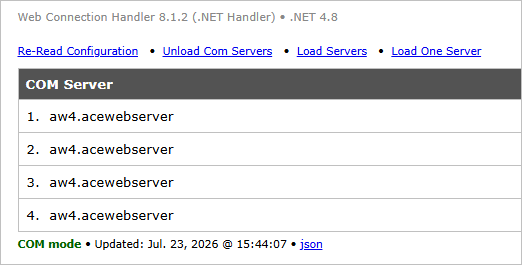
admin.aspxpage and click the Web Connection MOdule Administration link. - Click the Unload Com Servers link, then the Load Servers link.
You should now see the aw4.acewebserver COM Server(s) running.
ACEweb Template Changes
Some template changes may need to be applied to run the SQL version. Run the FileManager.awp tool to see what templates may need to be updated.
Maxlength on Fields
SQL won't truncate values. If a user tries to enter a value longer than the field length (e.g. a city longer than 20 characters), they will get this error on submit:
[SQL Server]String or binary data would be truncated. [1526:8152]To avoid the error, fields on all templates that submit data to the SQL tables must have a maxlength set to the maximum length of the field. This applies to the following main templates: Attachments.awp, Attendtrack.awp, ChangePwd.htm, CourseProposal.awp, Credentials.awp, CustomRegister.htm, Gradebook.awp, Person.awp, Proxyreg.awp, Register.htm, Xperson.awp.
You can get updated templates (with maxlength values set) via the File Manager tool.
Re-apply Customization
If you need updated templates, you will need to re-apply any customization to the new template.
This also applies to any custom express registration and data capture templates in use, and to any nameudfs fields used on person.awp and proxreg.awp. If you are adding fields to those templates, ensure they have the correct maxlength value set.
Custom Routines
- Any custom routines or templates you have ordered will need to be reviewed and updated for SQL.
- Any Express Registration templates you are using must be reviewed for SQL compatibility.
Please contact your ACEware technician for help with the review.
Compile Framework Pages
Once you have all template updates in place, you must recompile your .awp type templates. Run the AWP Compiler and click the All Templates button to recompile all .awp templates.
Alternate Interfaces Using Different SQL Database
If your alternate interface uses a different database than the main interface, you must set the AlternateSQL to ON in the alternate interface's ini setting file (e.g. awp1.ini).
Setup Issues
These are the most common SQL setup issues:
Cocreate Instance Error When Loading Servers
If you get Cocreate Instance COM errors when trying to load the servers:
- Go to Control Panel > Administrative Tools > Component Services.
- Expand Computers > My Computer > DCOM Config.
- Find the
aw4.AceWebServeritem, right-click it, and choose Properties. - Open the Security tab.
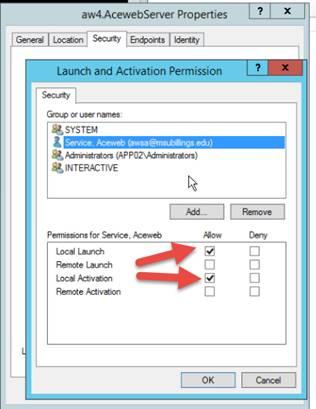
- Select the Customize option in the Launch and Activation Permissions section, then click Edit.
- Select the user with rights to ACEweb, then verify the Local Launch and Local Activation boxes are checked.
- Click OK, then click OK on the Properties window.
- Close the Component Services window.
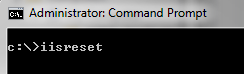
- Open a command prompt and reset IIS.
Unknown Member oData When Trying ACEweb Links (e.g. showgroups.awp)
The Unknown Member oData error is a general symptom of a failed connection between ACEweb and the SQL database. Check the following:
Missing/invalid SQL connection string in ACEweb.ini — make sure you have the correct connection string entered in the
SQLConnectStringINI setting.Improperly set up DSN — make sure you set up the DSN properly on all machines accessing the SQL database. See the Setting up DSN section for more information.
Make sure all the ACEweb log files were created during the port. This is the list of required ACEweb log files:
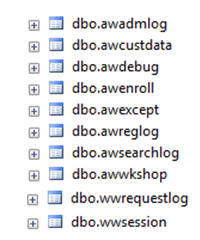
If you are missing any table, you can run
ACEweb.sqlwithin SQL Server Management Studio to create them.Make sure the account you are running ACEweb under has
db_ownerrights to the SQL database. This is the account the Application Pool is running under.