

Ungroup Registrations
Sometimes you may need to remove a registration from a group. For example, one member cancels and you must issue a refund, or transfer a registrant to another class.
To ungroup a registration:
- Look up the registration record you want to ungroup.
- When the Registration screen opens, uncheck the Group box.
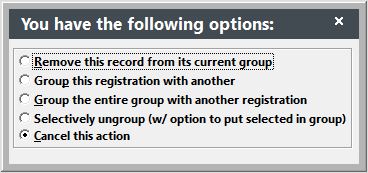
- Select Remove this record from its current group.
- Click the Save Changes button.
Payments Made
Ungrouping the registration does not alter any payments made to the registration. If you made a payment before ungrouping, that payment will still exist with the originally assigned receipt number.
Selectively Ungroup
You also have the option to selectively ungroup registrations with the option to group the remaining registrations back into their own groups. This is useful if you've accidentally grouped two groups together or if the student (or firm) has only paid for part of the group and not the whole.
- Look up the registration record you want to ungroup.
- When the Registration screen opens, uncheck the Group box.
- Select Selectively ungroup (w/ option to put selected in group).
- Uncheck the registrations you want to remove from the group, then click the Done button.
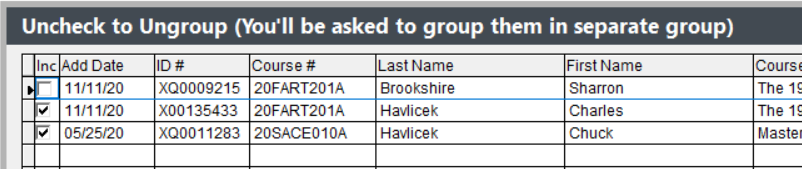
- You'll be asked if you want to regroup the ungrouped registrations into their own group. Select the appropriate option.
- Click the Save Changes button on the Registration screen.