

Edit ACEweb INI Settings
Determine your ACEweb behavior options, e.g. the Web Payment options, the path to your Student Manager program folder, Course Fee Display behavior, etc. in the ACEweb.ini.
IMPORTANT
If you are running in COM mode with more than one server enabled, after submitting an INI setting change (step 4 below), you must reload the COM servers.
Edit a Setting
- Open the ACEweb Administration page.
- Click the Edit ACEweb.INI Settings link.
Note
You must log into the system as a Student Manager user with rights to access the ACEweb.ini Settings page.
- The ACEweb.INI Entries page opens.
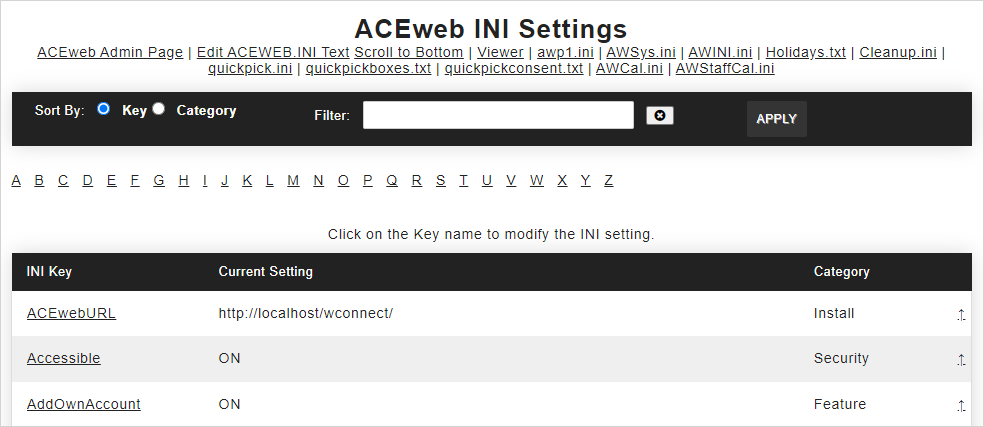
- To move down the list, click the Letter designation if sorting by Key. If sorting by Category, click the Category link.
- To view more information about a particular setting and/or edit the setting value:
- Click the appropriate link in the Key column. The Settings page opens with the setting's current value listed in the Setting field. This page also lists the setting type, a brief description, and a sample entry.
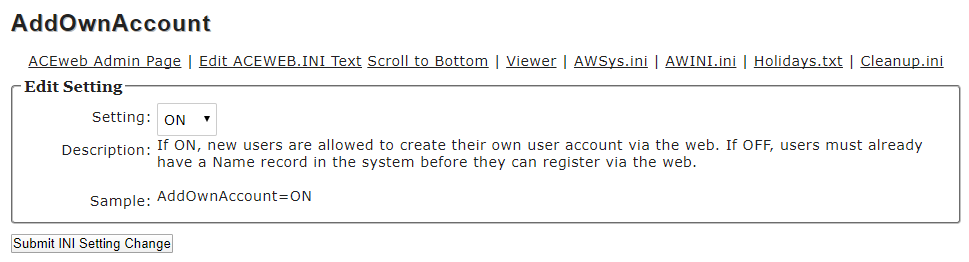
- To edit the setting, make the change in the Setting field.
- Click the Submit button. This will save the change to the ACEweb.ini and return you to the ACEweb INI Entries page.
- Continue steps 1-3 until you have made all the changes to the INI settings.
Alternate Settings
To enable an alternate setting, edit the ini text, copy the setting you wish to have an alternate, paste it directly below it, and place two semicolons ( ;; ) in front of it, i.e:
DebugFlag=TABLE:FLAGS:PYSRVDETAILS
;;DebugFlag=TABLE:
Now that setting will have a checkbox labeled "swap" in the normal ini editor mode, which allows you to toggle back and forth between settings.
Other INI Files
See the Other INI Files topic for information on other INI files.