

CollegeNet Export
Export Room Use data for import into CollegeNet.
Set Up
Before you can upload the data to CollegeNet, you must enter the WS Link, Username and Password into the CollegeNet settings.
- Select .
- Enter the WS Link, Username and Password. All 3 are required.
- Click the OK button.
Export File for Series of Courses
- Select .
- Enter the export record criteria and output file type (i.e. vcal or csv).
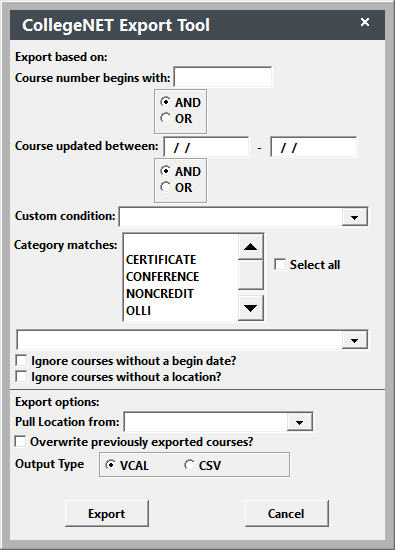
- Click the Export button.
- The Select Directory window opens. Select a directory in which to save the file. The default location for saving your export file will be your Student Manager directory (e.g. manager7). We strongly recommend you save the file in another directory (e.g. your desktop, or to a folder on your c:\ drive).
- Click the Select button to save your export file in the directory you chose.
- If you have previously exported a file to the same location and as the same file type, you will be asked what to do. Select the appropriate option.
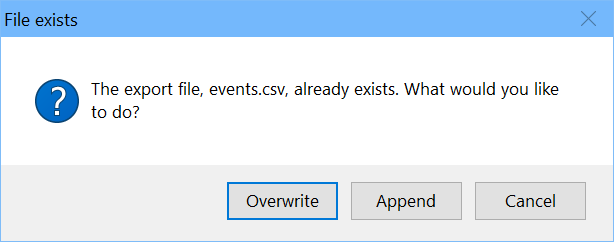
- The file will be saved to the location you selected, with the name events. E.g. events.csv if you selected the csv output format. And you will be notified of how many records were exported.
Upload Specific Course to CollegeNet
- Look up the course record.
- Click the Room Use button to open the Room Use screen.
- Click the CollegeNet Upload button (lower right of Room Use sreen).

- You will be notified of the successful upload.