

Make Payments
To add a payment to a registration:
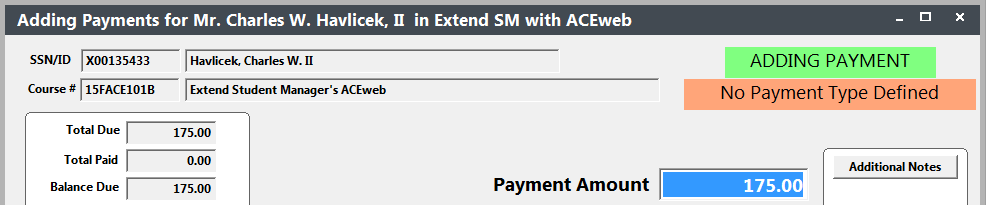
- Click the Payments button. The Payment screen opens:
- If there are no payment records created for this registration yet, the Payment screen automatically opens in 'Add' mode ("Adding" appears in the top right of the Payments screen. The No Payment Type Defined message will also be displayed because a payment type has yet to be selected.). Continue to step 2.

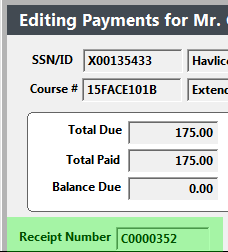
- If there are existing payment records (e.g. a voided payment attempt), the Payment screen opens in 'Edit' mode ("Editing" appears in the top right of the Payments screen). Click the Add button to make a new payment then continue to step 2.

- By default, the total amount due will be entered into the Payment Amount field. If necessary, adjust this amount (e.g. if the individual is only making a partial payment).
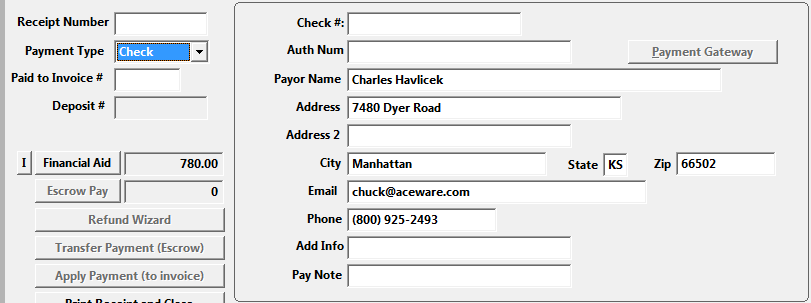
- Select the appropriate Payment type from the drop down menu.

- When you select the payment type, the Payment Detail fields become available for you to enter payment details.
- Click the Save button to save the payment. When you click this button, the payment record is created and the next available receipt number is assigned to it.
You can now print a receipt by clicking the Print Receipt and Close button.
Charge to Different Firm/Person
You can set a different Payer on the payment with these buttons:
- Paid by Firm - replaces the Payor Name and contact information with the name and contact information of the Firm associated with the registrant.
- Find Firm - if another Firm is paying for the registration, click this button to the select the appropriate firm.
- Find Name - if another person is paying for the registration, click this button to select the appropriate Name.
- Bill to individual - if you clicked the Paid by Firm and need to switch the payor back to the registrant, click this button to change the Payor Name and contact information to the registrant.
If a 3rd party is paying for the registration, e.g. a person or firm that is not in your Names or Firms database, you can manually enter their information in the Payor details.
Clone Pay Detail
You can use the Clone Pay Detail button to paste the details of the last payment record you created into a new payment record. When you click the button, the P.O.#, Payor Name, etc. from the last payment record created will be pasted into the appropriate fields on the new Payment record.
Billings
If you selected the 'Billing' Payment type in step 3, the "Invoice" label appears on the screen and the P.O. # field becomes available.
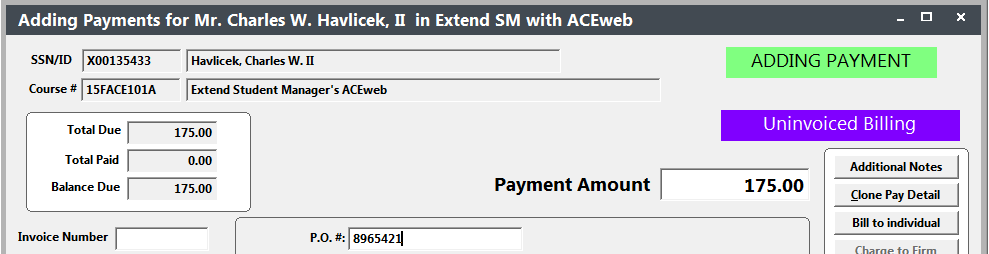
When you enter the appropriate billing information and click the Save button, the payment record is created but no Receipt Number is assigned. This is because billing records are not actually payments and should not receive Receipt numbers.
You can assign an invoice number by clicking the Assign Invoice Num button, or by running the Print New Invoices report.
Credit Cards
If you selected a credit card payment type in step 3 --and-- you have Credit Card Processing set up:
- Click the Payment Gateway button.
- Your preferred web browser (e.g. Chrome, Edge, or Firefox) will open and transfer you to the Payment Gateway's website to enter the credit card information.
- Once the card is validated, the ACEweb Payment Completed page opens with the status of the transaction. You can then close the browser window.
- If the credit card is valid, the Authorization # value is entered in the Auth Num field. If the credit card was declined, the payment is voided and the CC Declined notice is entered in the Pay Note field.
- Click the Save button to save the credit card payment.