

Course Group Setup
Categorize your courses in the course list with the GroupOption INI setting.
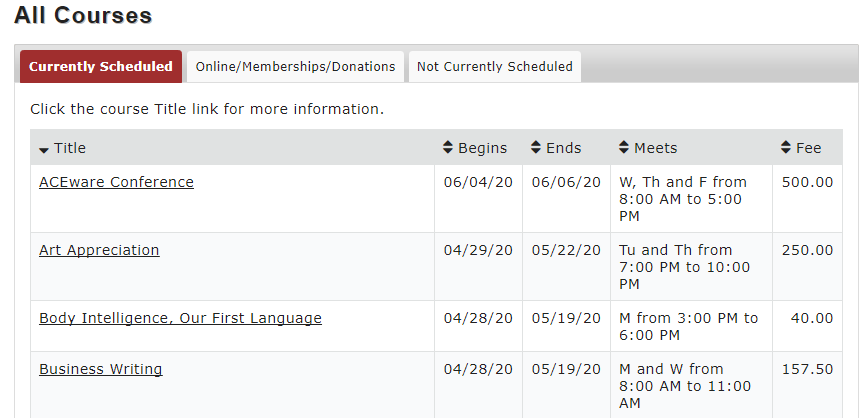
GroupOption 0
All courses are displayed in one list on the course screen. Grouping codes set on the Course are ignored.
GroupOption 1
GroupOption 1 lists a 1-level group listing, with the active course groups taken from the Grouping codes added to the course records. Clicking on a group name brings up the list of courses which have that grouping code assigned.

To utilize Group Option 1:
- Create Grouping codes and enter the description you want displayed in the Course Listing. The codes should be set to display on ACEweb.
- Assign the code to all courses that should be displayed in this group.
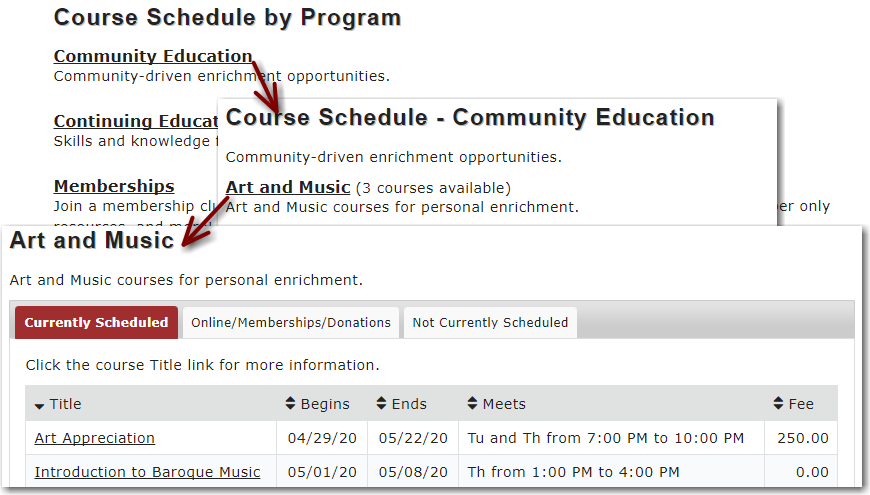
GroupOption 2
GroupOption 2 is a 2-level group listing. The course group page lists the 1st level active groups. Clicking one of them brings up a list of its subgroups. Clicking on a subgroup name then lists the courses for the subgroup.
To utilize Group Option 2:
- Create the 1st level Grouping codes that consist of a period (e.g. .COM for the Computer Courses Major category). The codes should be set to display on ACEweb.
- Create the 2nd level Grouping codes with the same first 3 characters (AFTER the period) as the 1st level Grouping Code, followed by 3 unique characters to designate the subgroup (e.g. COMBAS for Basic Computer Courses). The codes should be set to display on ACEweb.
- Assign the 2nd level Grouping Code to all courses that should be displayed in the group.
Note
Courses with no grouping codes assigned will only display when a user clicks the All Courses link.
Graphical Group Listing
The Show Groups routine will show the group link, description, and if set, image on the page:

The description and image come from the Grouping code record:

Images
- Images must be placed in the ACEweb Images folder (i.e. wconnect\ace\images).
- You can use .png, .gif, and .jpg type images.
- Image names cannot be longer than 12 characters.
- All images should be the same size (e.g. size of images we use on our ACEweb Demo is 120px by 85px).
- Enter the image name only in the File Name for Image field on the associated group record. You don't need to enter the file extension (i.e. .png, .gif, .jpg).
Description
Enter the group description in the Detail field. You can use html coding to format your descriptions.