

Canceling Courses
Canceling a course removes it from all registration routines. In addition, canceled courses will not be included in most reports unless you specifically request to include canceled records in the report.
NOTE: Canceling a course does not remove the record from the database. To remove the record, you must delete it.
Course with NO Registrations
- Open the course record.
- Check the Canceled box (upper-right of screen).
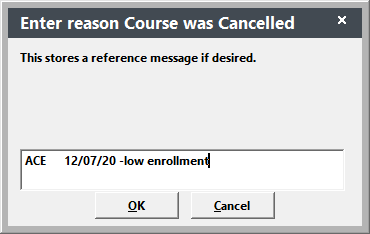
- You'll be asked to enter a reason for canceling the course. The field will auto-enter the current date at the start of the field. Enter the reason after the date and click the OK button.
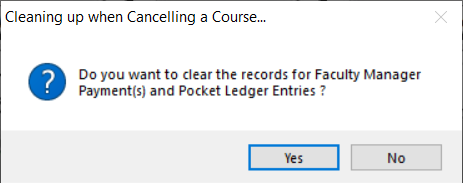
- The system will ask if you want to clear instructor pay records. Select the appropriate option.
- The system will display a message telling you that the Room Use records have been cleared. Click the OK button to close the message.
- Click the Save button. Note: when you save the record, the Active box will be automatically unchecked.
Course with Registrations
The Cancel Course Wizard allows you to cancel a course, cancel all registrations for the course, and issue refunds to the students.
IMPORTANT: the Cancel Course Wizard CANNOT send refunds to your Payment Service. You will need to go into the payment service's Payment Manager to issue the refunds.
- Select .
- Select the course you want to cancel.
- The system will ask you to confirm the cancellation. Click the YES – Get on with it button.
- You'll be asked to enter a reason for canceling the course. Enter the reason then click the OK button.
- Select the registrations you want to cancel. By default, all registrations are selected in this step.
- The system will report how many registrations were canceled. Click OK to close the window.
- The Class Level Refund Wizard screen opens. Select the appropriate refund options. Note: if holding back or refunding a fixed amount, you must enter the amount to hold back/refund.
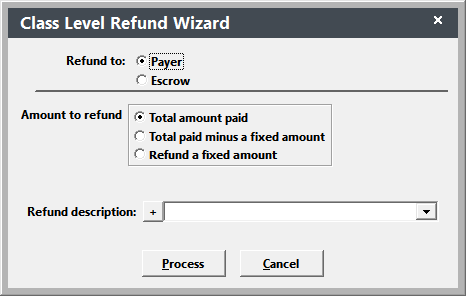
- Select the appropriate refund description then click the Process button to process the refunds.
- The Report Options window opens next. Select the report options.
- After the report prints, click the Done button to exit the Class Level Refund Wizard.
- You'll be asked if you want to email people to notify them of the cancellation. Click the Yes button to open the Quick Email screen and send an email.
- Enter the email addresses of the people you want to email. The message text comes from the CRSECANCEL email template. Click the Send button to send the email.
- The course is now canceled and deactivated.
*The Refund Wizard only creates refund records for the registrations.