

Creating a Query
To create a new query:
- On the Query List Manager window, click the Add button.
- Enter a title for your new query (i.e. a descriptive name such as 'Courses between two dates') then click the OK button.
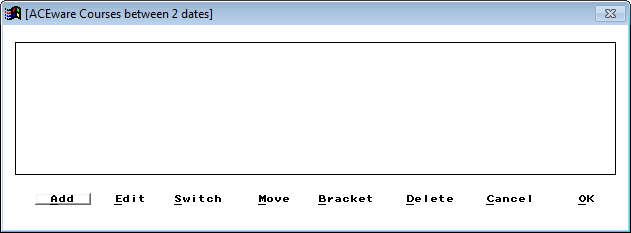
- After you enter the title, the Query Title window will open for you to add query elements. Click the Add button to add a query element.
- On Step 1: Select a field, the available query fields for this report area are listed. Select the appropriate field from the list (e.g. for courses between two dates, select Course Begin Date).
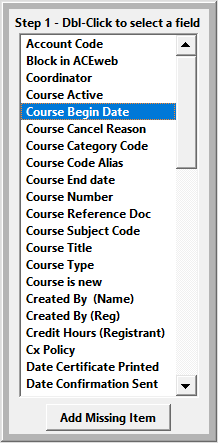
If the field you want is not listed, you may be able to add it with the Add Missing Item option.
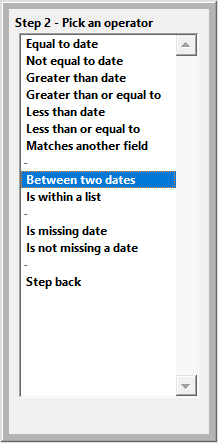
- On Step 2: Pick Operator, the operators for the field you selected in Step 1 are listed. Select the appropriate operator (e.g. for a courses between two dates query, you would pick 'Between two dates').
- On Step 3: Enter Comparison Values, the values you are searching for are entered. Most of the time you should select Ask Later. This keeps the query as generic as possible so that it can be used over the long term (e.g. if you enter dates instead of selecting Ask Later, every time you run the query it will only report courses which begin between those two dates. So you must edit the query if you want to look at other dates. By selecting Ask Later, you will be asked to enter dates every time. This means that you can still use the same query two years later--without having to edit it).
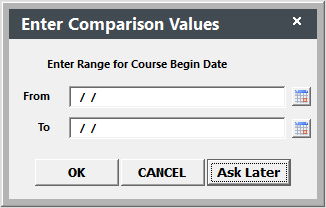
- After you select the Step 3 option, confirm that you are finished adding this element by clicking the OK button.
- You're now returned to the Query screen and the Query element text appears in the window.
- Click the OK button to save your new query and return to the Query List Manager window. Your new query will be added to the Query Manager list.