

Name Import Wizard
The Name Import Wizard allows you to import Name records into the Names database. You can also use it to import the Names and register them in a specific course via the Speed Registration option.
IMPORTANT NOTICES
The Import routine will not edit existing Name records. For example if you have a Name in the import file that exists in your Names table already but with a different address listed in the import file. It will not edit the existing Name record and update their address with the one from the import file. The routine ONLY adds new Name records.
The Import Wizard can check for duplicate names in your import file if your records list the Name ID, Birthdate, or Email address. By default, if you have Name IDs listed in your import file, it will use those to check for duplicates. If you do not have Name IDs listed, you will be asked if you want to use Birthdate or Email address to check for duplicates.
Requirements
- Microsoft Excel installed on your workstation (or the remote server if using our hosted option).
- An Excel spreadsheet with the names to import.
- It's not required, but we do recommend you have a Header row in your Excel spreadsheet that identifies the data in each column. E.g. first [name], last [name], address, etc.:

TIP
If you use the Student Manager native field names in the column headers (i.e. use NMNAME1 for FirstName and NMNAME3 for Last name, etc.), when you are selecting fields for the column, the import routine will automatically find and link the appropriate field for that column.
- Date Format: use the ShortDate format for dates in your import file. The column width must also be expanded to at least 36.
- These fields must be set to Text format even if the value is only numbers: all phone number fields, all zip code fields.

- There is a sample Name Import spreadsheet ↗️ available for download.
What Can You Import?
You can import:
- All fields from the Names table
- All fields from Name User Defined Fields table
Importing Names
To import name records:
- Select .
- In the Windows Open box, find and select your Excel spreadsheet file.
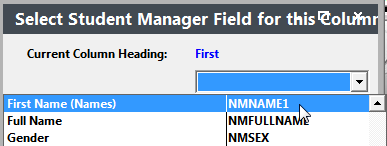
- Select the Student Manager field for the columns in your spreadsheet.
If you are using the Student Manager native field names in the column headers (i.e. NMNAME1 for FirstName, NMNAME3 for Last name, etc.), this step will be skipped.
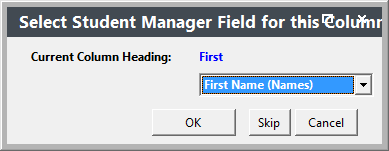
- Click the drop down and select the field to store the data in:
- Once the field is selected click the OK button to continue:
Repeat steps 1-2 for all columns in your spreadsheet.
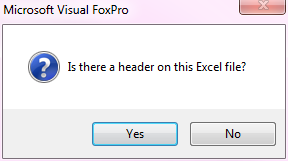
- If your spreadsheet has a Header row, click the Yes button:
- The Preview window will display for you to see the records that will be imported. Press CTRL+Q to continue with the import process. Press ESC to cancel the import.

- If you want to check for duplicates, click the appropriate button:

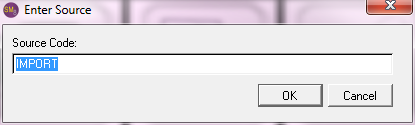
- If you would like to assign a source code to the imported records, click the Yes button on the Would you like to assign these names a Source code? box, enter the source code value (IMPORT is entered by default), then click the OK button:
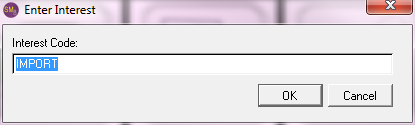
- If you would like to assign an interest code to the imported records, click the Yes button on the Would you like to assign these names an Interest code? box, enter the interest code value (IMPORT is entered by default), then click the OK button:
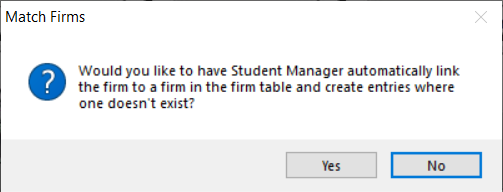
- If you would like to have the system automatically link the record to a firm or create new firm records, click Yes.
- The system will then import the records and notify when it's completed:
Import/Register in Course
- To import names and register them in a specific course:
- Run the Speed Registration procedure.
- After selecting the registration options, click the Import Wizard button.
- Follow steps 2-7 of the Importing Names section above.
IMPORTANT
Registration information must match what is set up on the course record. For example, if the registration fee is not the amount set up in course Fees, it will not import the registration.
Import/Register in Different Courses
To import names and register them in different courses (as specified in your import file), run the Registration Import Wizard.