

Data Filters
The Data Filters options allows you to select a subset of records for viewing, or to flag for reporting purposes. You can set filters for Names, Firms, Courses, and Registrations.
You can also set the Label and Report flags on Name records for special reporting purposes.
Set Filter
- Select then the appropriate option:
- Names
- Firms
- Courses
- Registrations
- Faculty (...flag names in classes)
- Run your query.
- On the Special Options window, click the Just Set Filter button.
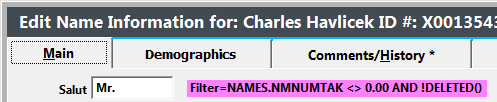
When you open the screen you'll only see the records that match your query--all the rest will be temporarily hidden. For example, if you set a filter on Name records, you will only see the Name records that match your filter.
The message in purple tells you what filter you set.
Clear Filter
To clear the filter and display all the records again:
- Select the the appropriate option.
- Names
- Firms
- Courses
- Registrations
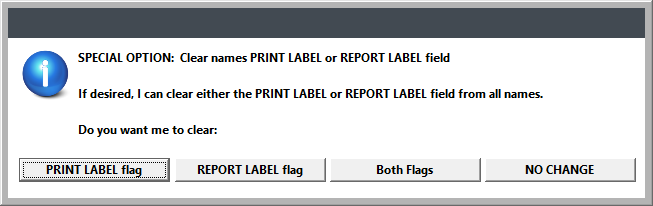
- If you selected Names, you have the option to clear the Label or Report flags, if desired. Select the appropriate option.
- PRINT LABEL flag - clears (unchecks) the Label flag on all Name records.
- REPORT LABEL flag - clears (unchecks) the Report flag on all Name records.
- Both Flags - clears (unchecks) the Label AND Report flags on all Name records.
- No Change - does not clear any flag.
Flag Records
The Set Filter option also allows you to flag selected Name records for printing or reporting purposes.
You can set the Label or Report flag on name records when setting filters on Names, Courses, Registrations, and Faculty.
Note, we suggest you clear any old flags (from a previous flagging operation) before running the Set Flag records option.
To set a flag on Name records:
- Select then the appropriate area:
- Names
- Courses
- Registrations
- Faculty (...flag names in classes)
- Run your query (e.g. City Is, Course Code begins with, etc.).
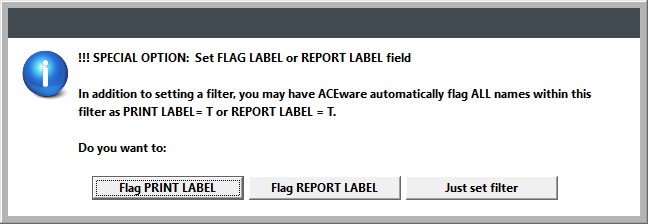
- On the Special Options window, select the appropriate option:
- Flag PRINT LABEL - select this option if you want to print mailing labels for this group.
- Flag REPORT LABEL - select this option if you intend to run reports for this group.
If you flag the records, you'll also be given the option of clearing the filter after the system flags the selected records.
- Click Yes if you only want to print mailing labels or run reports for this group.
- Click No if you want to edit the group's records before printing or running reports.
Clear Flags
To clear any old flags (from a previous flagging operation):
- Select .
- Click the appropriate button to clear the flag (uncheck the box).
- PRINT LABEL flag - clears (unchecks) the Label flag on all Name records.
- REPORT LABEL flag - clears (unchecks) the Report flag on all Name records.
- Both Flags - clears (unchecks) the Label AND Report flags on all Name records.
- No Change - does not clear any flag.