

Printing Name Tags
Available options when printing Name Tags:
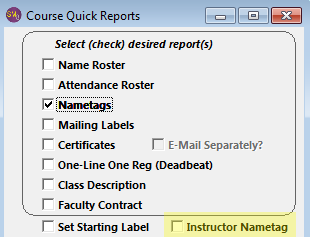
Instructor Nametag
When printing name tags from the course Quick Reports, you also have the option to print a name tag for instructors.
To print names tags for instructors, check the Instructor Nametag box:
Partial Name Tag Sheets
Print on partially used name tag sheets with the Set Start Label Position feature. This feature allows you to enter the number of the name tag where the system should start printing (e.g. you've used the top row and want it to start printing the name tags on the 2nd label down in the second row).
To use this feature:
- Check the Set Start Label Position box on the Report Options screen (available from Course Quick Reports or Reports > Registrations > Nametags).
- Select any other appropriate options, then click the OK button.
- The system will ask you for the target name tag number. This is where you want the system to start printing name tags*. Enter the number then click the OK button.
- Continue with the print name tag process.
*By default, Student Manager name tags are set to print down then across. So when counting, you should count down the columns. If you have changed this behavior, you must change your count according (i.e. count across the rows then down the column).
Name Tags on the Fly
Print Name Tags for course speakers, volunteers, staff, guests, etc. without creating Name records and registering them in the course. To do so:
- Select .
- Check the Name Tags on the Fly option on the Name Tags Printing Options screen.
- Run your query. Note: you would typically run these for a specific course.
- Select the appropriate Name Tag option:
- Standard Cursor (w/data) - print name tags for registrants with the ability to enter additional names.
- *Quick Entry Style (w/data) - print name tags for registrants with the ability to enter additional names.
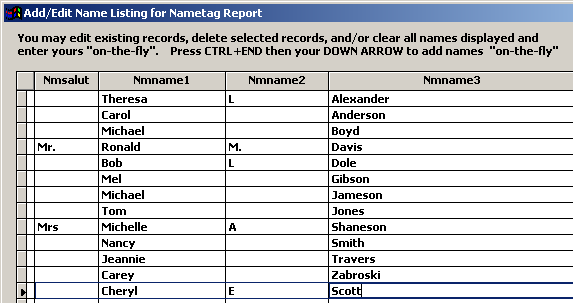
- *Empty Quick Style - opens a blank Add/Edit Name Listing for Nametag Report screen for you to enter the people. This options DOES NOT include registrants in the course.
- Continue with the regular printing process (i.e. close the preview window, send to the printer, etc.).
::: *Note on these options If you use these options, you must adjust your name tag to only use the available fields listed on the Add/Edit Name Listing for Nametag Report screen. You must also remove any functions from the name tag, e.g. NAMER(), IIF statements, etc. :::